Introduction
A Gif (or Graphical Interchange Format) is a series of images or soundless videos that continuously loop without pressing the play button; such as short scenes from popular TV shows and movies. GIFs are a popular and fun way to communicate on the internet. GIFs can be better than a video because they usually have small file sizes so they don’t prevent web pages from loading quickly. They are also a great way to convey emotions in a fun way. Feeling excited to learn more? There’s a GIF for that.
Why this article?
I know there are few websites like giphy.com, Ezgif, gifs.com to turn a YouTube video into a GIF but these online GIF makers put watermark, have an upload limit of max file size 6MB, & don’t make GIFs longer than 10 seconds. Also, I want to explore on my own to find out how these websites are working under the hood.
In this article, we’ll walk you through 6 steps to make a GIF from a youtube video.
Table of Contents
Download youtube video using youtube-dl
Video post-processing/ crop video
Annotate video/ adding text using FFmpeg
mp4 to gif using FFmpeg
Add blur or grain filters to GIF
Optimize GIF using gifsicle
You can also refer to my YouTube video tutorial for better Understanding
Prerequisite
You require three libraries FFmpeg, Gifsicle, and Youtube-dl for this task. You can download the latest version from their official websites.
You can also usepip for installing written in python using the following commands:
pip install youtube_dl

pip install ffmpeg-python

pip install pygifsicle
If you want to follow along with me then please download command-line utilities (pre-installed executables files) from my GitHub Repository so that you don’t have to install anything.
First, open your command prompt and clone GitHub repo on your local machine
git clone [https://github.com/techykajal/youtube-to-gif-maker.git](https://github.com/techykajal/youtube-to-gif-maker.git)
Now navigate to the youtube-to-gif directory and unzip demo.rar file
cd downloads/youtube-to-gif
1. Download youtube video using youtube-dl
youtube-dl -o input.mkv [https://www.youtube.com/watch?v=AzjS8k5TEsY](https://www.youtube.com/watch?v=AzjS8k5TEsY)
just grab the youtube video link to download the video using youtube-dl
-ois an output key that follows the filename you want to save as
2. Video post-processing/ crop video
ffmpeg -i input.mkv -ss 30 -t 3 output.mp4
- Trim the video. This example will skip the first 30 seconds (
-ss 30) of the input and create a 3-second output (-t 3).
Note- It is super amazing to see how quickly you can crop or trim your video without using any fancy heavy software like Premiere Pro or After Effects. To give you a brief comparison it took me 10 seconds to crop my video using a command prompt compared to 80 seconds in software. I know it’s not powerful like softwares but for simple edits, it is blazing fast.
3. Annotate video/ adding text using FFmpeg
ffmpeg -i output.mp4 -vf drawtext="fontfile=/path/to/font.ttf: \
text='KABOOM': fontcolor=white: fontsize=54: box=1: boxcolor=black@0.1: \
boxborderw=5: x=(w-text_w)/2: y=(h-text_h)/1.4" -codec:a copy output_text.mp4
The
@0.1controls the opacity of the text box. In this example, it is set to 10%. You can remove@0.1and there will be no transparency.-codec:a copywill stream copy the audio and avoid re-encoding.You can use ASS or SRT subtitles for timed text
Please refer drawtext filter documentation for more options and examples.
4. MP4 to GIF using FFmpeg
ffmpeg -i output_text.mp4 -vf "fps=10,scale=480:-1:flags=lanczos,split[s0][s1];[s0]palettegen[p];[s1][p]paletteuse" -loop 0 output.gif
FFmpeg not only supports mp4, but you can also convert your video to GIF from other video formats like AVI, FLV, Mkv, WebM, & Ogg.
change
[fps](ffmpeg.org/ffmpeg-filters.html#fps) filter to set frame rate. In this example we are using 10 frame per second[scale](ffmpeg.org/ffmpeg-filters.html#scale) filter will resize the output to 480 pixels wide and automatically determine the height while preserving the aspect ratio. The Lanczos scaling algorithm is used in this example.[palettegen](ffmpeg.org/ffmpeg-filters.html#palettegen) and[paletteuse](ffmpeg.org/ffmpeg-filters.html#paletteuse) filters will generate and use a custom palette generated from your input.[split](ffmpeg.org/ffmpeg-filters.html#split) filter will allow everything to be done in one command and avoids having to create a temporary PNG file of the palette.Control looping with
-loopoutput option. A value of0is infinite looping,-1is no looping, and1will loop once meaning it will play twice. So a value of 10 will cause the GIF to play 11 times.
5. Add blur or grain filters to GIF
ffmpeg -i output.gif -vf fps=5,scale=480:-1,smartblur=ls=-0.5,crop=iw:ih-2:0:0 result.gif
You can skip this step if you don’t want to reduce the quality or size of the GIF
-iis an input key that follows the filename you want to convert.-vfis key to set visual filters.fpsis a string describing output framerate (default “25”).scalesets the width and height, “-1” preserves aspect ratio.smartblurblurs or sharpens the video, “ls” means “luma_strength” — one of the smartblur options. Values from -1 to 0 sharpen the image.crop****trims pixels, “iw:ih-2:0:0” tells to trim 2 px from the bottom.
6. Optimize GIF using gifsicle
Optimize GIFs using the following command.
gifsicle -O3 result.gif -o result_optimized.gif
O3is an optimization level that tries several methods for better compression. Read Gifsicle documentation for more info.-ois an output key that follows with a filename.
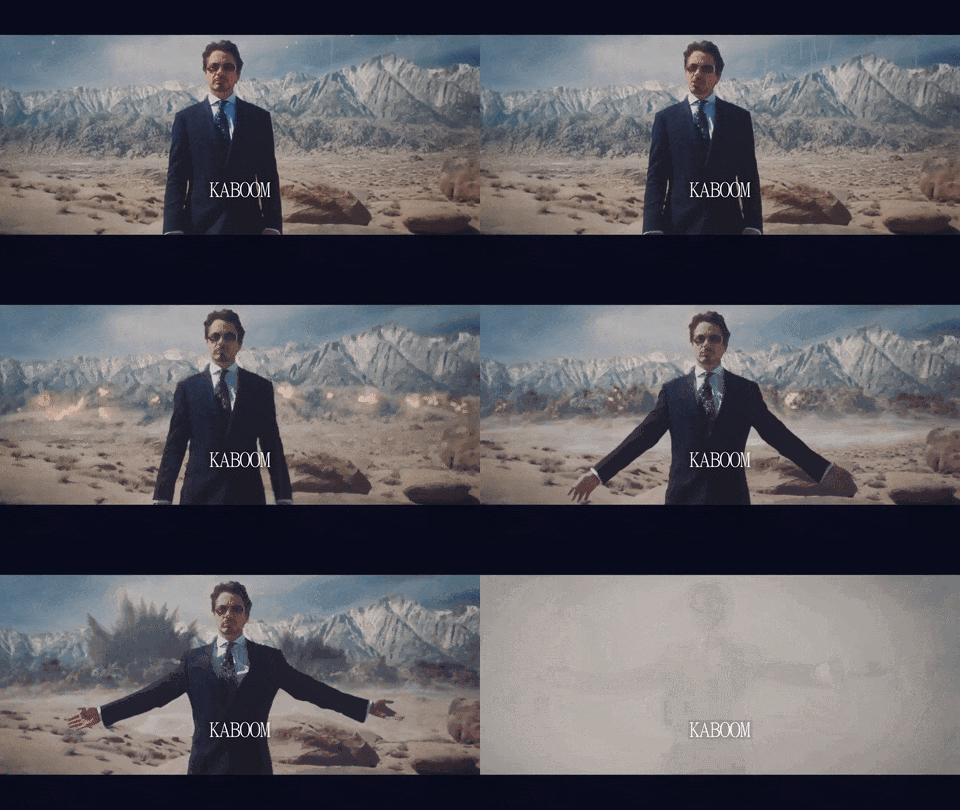
Below is the final gif created using the above commands

Full Code
Link to GitHub Repository. Drop a star if you find it useful. ⭐️
#Command line script for youtube to gif maker
git clone https://github.com/techykajal/youtube-to-gif-maker.git

cd downloads/youtube-to-gif

youtube-dl -o input.mkv https://www.youtube.com/watch?v=AzjS8k5TEsY

ffmpeg -i input.mkv -ss 76 -t 4 output.mp4

ffmpeg -i output.mp4 -vf drawtext="fontfile=/path/to/font.ttf: \
text='KABOOM': fontcolor=white: fontsize=54: box=1: boxcolor=black@0.1: \
boxborderw=5: x=(w-text_w)/2: y=(h-text_h)/1.4" -codec:a copy output_text.mp4

ffmpeg -i output_text.mp4 -vf "fps=10,scale=480:-1:flags=lanczos,split[s0][s1];[s0]palettegen[p];[s1][p]paletteuse" -loop 0 output.gif

ffmpeg -i output.gif -vf fps=5,scale=480:-1,smartblur=ls=-0.5,crop=iw:ih-2:0:0 result.gif

gifsicle -O3 result.gif -o result_optimized.gif
Conclusion
I’m thinking of using this set of code to make gifs from my youtube tutorials. I think having your own code makes your work super streamline and also gives lots of customization freedom than an online GIF maker.
What are you waiting for? Go make a GIF.

